How To Hang A Wall Mural (Self Adhesive) – Easy 7 Step Guide
* This post may contain affiliate links. They don't cost you a penny, but do pay a commission to this site.
Please click here for more details.
If you’re looking at buying a mural to add a little more uniqueness to your decor, then you’re probably wondering how hard they are to hang and what you need to do. I’ve got you covered! Here’s exactly how to hang a wall mural (specifically the self adhesive kind) – step by step so you won’t go wrong!

We’ve added a few murals in our house now – and I am in love with them all!
First, we hung a local map on our landing wall, and secondly a map of my favourite walking spot in the Lake District (and where we got married is on there too!) in our family room.
Next, I had plans for our newly converted Garden room (which used to be an old garage building). It was fully refurbished and needed decorating.
As such, I decided on a peel and stick wall mural again, and I chose a stunning design from ETSY.
The plan was to put it onto two walls rather than one, so it went round the corner of the room.
Honestly, it was hard to narrow it down to just one, but I eventually did! I went for a floral theme that would work well throughout the seasons as we’s use the room year round. I also didn’t want to be sitting in there in the Winter looking at a summer scene inside, and vice versa.
This design worked as it had a black background which was the colour of the outside of our room, and had lots of oversized green and white florals on it that would blend with the planting in the garden around the room.
Perfect!
Why You Should Choose A Wall Mural For Your Decor
There are a few reasons why wall murals are so good:
- Fills the entire wall – so you don’t need to add anything else. It’s a relatively easy design choice for this reason, and although it can be expensive – you save on not having to have anything else on the wall.
- It adds a great focal point to the room (a feature wall) – and they can make a brilliant talking point!
- An adhesive wall mural can test your patience when it comes to putting it on the wall, but it can be a lot easier than traditional wallpaper that has to use wallpaper adhesive (or other types of murals that do the same). I thought the sticky back paper was cleaner and easier than paste. It’s also basically a removable wallpaper and so you get all the benefits of easy removal instead of having to strip wallpaper which can be a pain.
- You can get literally anything you want in the design with the advent of custom wall murals – photos, maps, pictures, different colours etc… – so it can be a really inexpensive way to get a very unique and personalised look for your room.
- It’s very durable. Most come on a wipeable thick material that makes it sturdier than you’d think to handle, and then it’s long lasting when on the wall.
How To Hang A Wall Mural In 7 Simple To Follow Steps
What You Need
- Your chosen mural – in the right size for the space you want to fill.
- Stepladder or stool
- Spirit Level
- Craft Knife / Stanley Knife / Utility Knife (whatever sharp knife you like!)
- Pencil
- Metal Rule (wallpaper cutting rule works well)
- Clean soft cloth
- Screwdriver
- Scissors
Step 1 – Measure Your Walls
You’re going to need to measure the height and width of the wall(s) that you want the mural to be hung on.
Remember to measure twice to make sure you’ve got the right measurements, and always measure to the longest / widest point on the wall. You can always cut off any excess.
Also, it’s worth measuring in both cm and inches – that way you’re prepared with whatever method the mural company you choose uses.
When you know the measurements, you can go shopping (the fun bit for sure!).
I advise measuring before shopping because some murals may have to be ruled out straight away because of size restrictions. Knowing the measurements up front means you’ll be able to move on quickly from something that doesn’t come in the size you need, and not be disappointed later down the line.
For our mural I was going to hang it on two walls – going around a corner:


Step 2 – Pick Your Wall Mural & Place Your Order
You’re going to want to choose a style in colours that works with your other decor.
For a mural it’s between picking a wallpaper and a piece of art – so think about it this was when you pick. Usually you’ll want to have something that creates a focal point.
A lot of murals come in a choice of backing – either self adhesive or ready to paste. I prefer the peel and stick kind as I’m not very good as a wallpaperer, and I think (rightly or wrongly) that the self adhesive is better because there’s less mess and I can peel it off and stick again should I get anything wrong!
Always make sure that the mural you want is in the backing that’s right for you. Obviously I’ll assume self adhesive for the rest of this article.
Check whether you’ll need to order exact measurements, or if there’s a range of sizes and you have to pick one of those. Each manufacturer will give advice on measuring and how much extra to add (if any).
Step 3 – Prep Your Wall
Firstly, check for any holes or damage on the walls and fill these. Sand down any imperfections as well as you want a smooth surface to stick the mural onto.
Then unscrew any sockets or light switches so you can stick the mural behind them. If you can, also take off the skirting board so you can paper behind these, but that’s optional.
RAW PLASTER
We had raw plaster (as you can see in the pictures above) and so I added one layer of emulsion to it before the mural (see below).
The maker of the mural said to wait 2 weeks after painting before applying the mural, so I added this timeline to my plan.


OLD PAINT
Clean with sugar soap to ensure no grease or dirt that could affect the adhesive.
WALLPAPER
Remove the wallpaper and clean with sugar soap to ensure no adhesive left.
TIP: I also took the time to paint around the sockets and down each wall edge – in the same colour as the background of the mural (in our case, black). This meant that if some of the mural left a gap for any reason, it would still look finished as the background colour would be the same (rather than the white undercoat, which would stand out far too much).
Step 4 – Check Mural Is Correct
When you get your mural delivered, it’s worth double checking that it’s all there and ready for putting on the wall.
Usually there will be a plan in the packaging that will tell you how they’ve packed it.
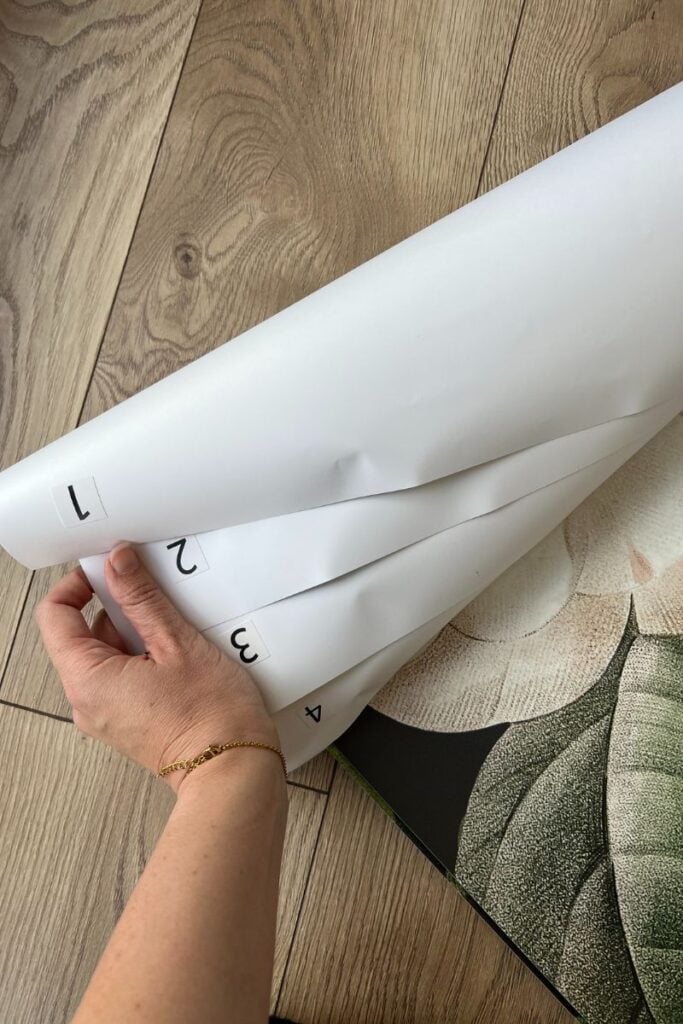
Mine was labelled on the back of each section with the numbers 1-9, with the instructions that number one was the far left of the wall.


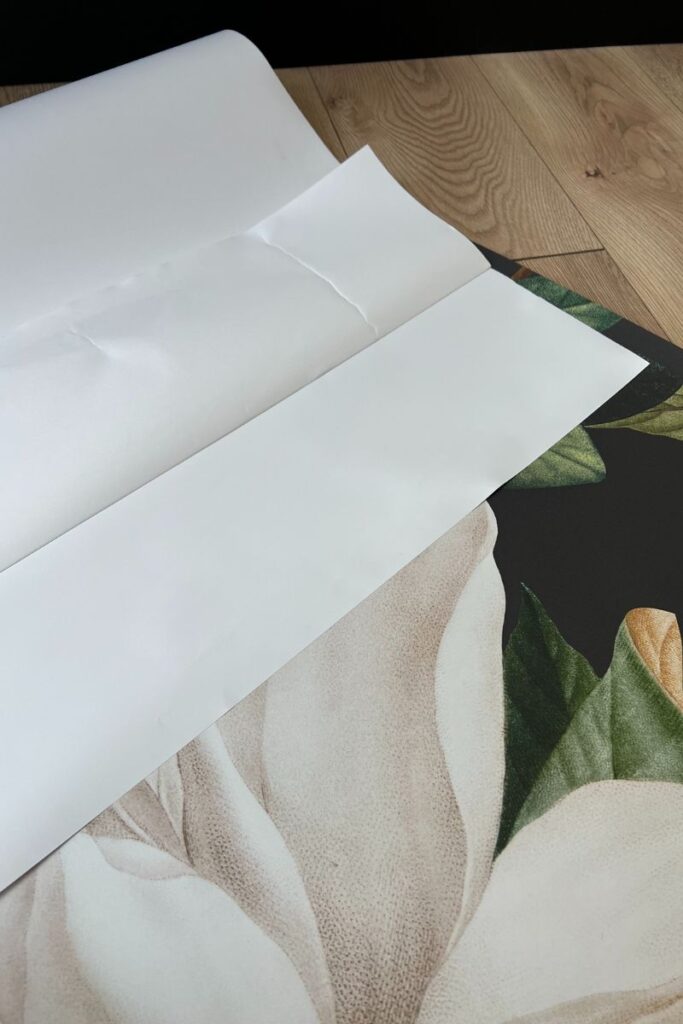
I also laid it all out to check that the pattern was correct, colours were all accurate, and the whole thing was there. It’s easier to do it before it’s on the wall, because if you need a reprint of the mural you can then get a full one.
Step 5 – Draw A Guide Line
Measure the width of the first mural panel and a little further over from where you will be placing this on the wall, make a vertical line on that wall with the pencil.
Ideally, use a spirit level to ensure this is perfectly straight.
Take your time with this – it’s worth it because you’ll be sticking the panel down in line with this rather than the edge of the wall.

TIP: Never rely on the wall because walls can be slightly off which may not look bad for the first of the wallpaper panels (mural panels), but will worsen over the mural until the last panel is obviously at an angle.
Get the first one straight, and it’s SO much easier – trust me!
Step 6 – Working from left to right – Stick Each Panel On The Wall.


For my mural, we were told to start from the far left and work around until the end.
Because our walls were newly plastered, the edge was really straight, so I was lucky enough to not have to trim the far left side once I’d hung the first panel. This saved a bit of time, but it would have been easy enough to trim it so if you’re not sure at all about your walls, then give yourself a little extra on that side just in case!
I cut a little off the end of the panel (as it was a standard size when I bought it – there was about 30cm of extra at the bottom which would have been a pain to handle and wasn’t needed).
Then I peeled back around 3 inches of the top of the mural, and held the top two corners.
Lifting the entire panel, I secured the mural to the top of the wall, not too firmly, just so I could check that it was in the right place.
Then, slowly, I peeled back more of the backing, a little at a time, and then worked to stick it to the wall from the centre to the edges (this helped avoid as many air bubbles as possible).
Every little bit I checked against the plumb line, to make sure I was staying straight.
After the first panel was hung – I started with panel 2, and worked slowly until every panel was hung.


It’s honestly that easy!
Here’s a quick video of each panel up – so you can see the progress:
TIP: This can be a two person or one person job. I’ve done it both ways. Honestly, I preferred doing it by myself because it’s hard to both be on the same wave length when dealing with sticking something down. However, it’s also harder with 1 because you have to go so much more slowly to make sure you don’t hit any issues.
Top Tips For Adhesive Mural Sticking
- Stick each panel from top to bottom.
- Try and keep the paper as close to the wall as possible so there’s less chance of it creating big air bubbles when you unstick the backing.
- Roll back the backing a little at a time so it doesn’t stick against itself.
- Use a clean soft cloth to take away any air bubbles – working from the middle to the edges.
- Make sure each panel is straight before you continue. It’s easier to correct an error when it’s made rather than later on.
- To stick around the sockets and switches, simply cut a small hole in the centre of the area, and cut in sections slowly so you don’t cut too much. When you can, feed the plate through the hole in the mural, and stick the mural down. You should get a really nice finish as the mural will be stuck behind the plate and it will look neat when screwed back in.


Things To Watch Out For
I had one problem where I had to peel off the entire panel I was working on. I carefully stuck the backing back on, but still, it managed to stick against some of the other back of the panel. The adhesive is VERY sticky, and so there was a big panic while I tried to unstick it from itself. Just breathe, go slow – and it should come apart…
Also – there were a couple of places where the design didn’t fully line up between panels. When I was hanging them it felt like a huge mistake – but I think this was due to the fact that I was pulling slightly too much and slightly stretched the material.
This meant that some of the design was slightly off, and other times there was a slight bend in the panel which meant the wall showed in a small gap.
I ended up cutting some excess into strips and sticking behind the panels to hide any wall that was showing in the gaps – and it actually worked totally fine.
When you’re standing back and enjoying the mural you can’t even see what I thought would be obvious.
The lesson?
Don’t stress the small stuff! (Obviously these errors would appear a lot more obvious on a map design than this floral one, so you can decide how careful you really need to be!).
Step 7 – Tidy Up


Trim any edges – you may find that the sticky paper takes some paint off the other walls – so these may well need a touch up.
Aaand relax – you’ve finished!

Enjoy your beautiful new wall – you deserve it!

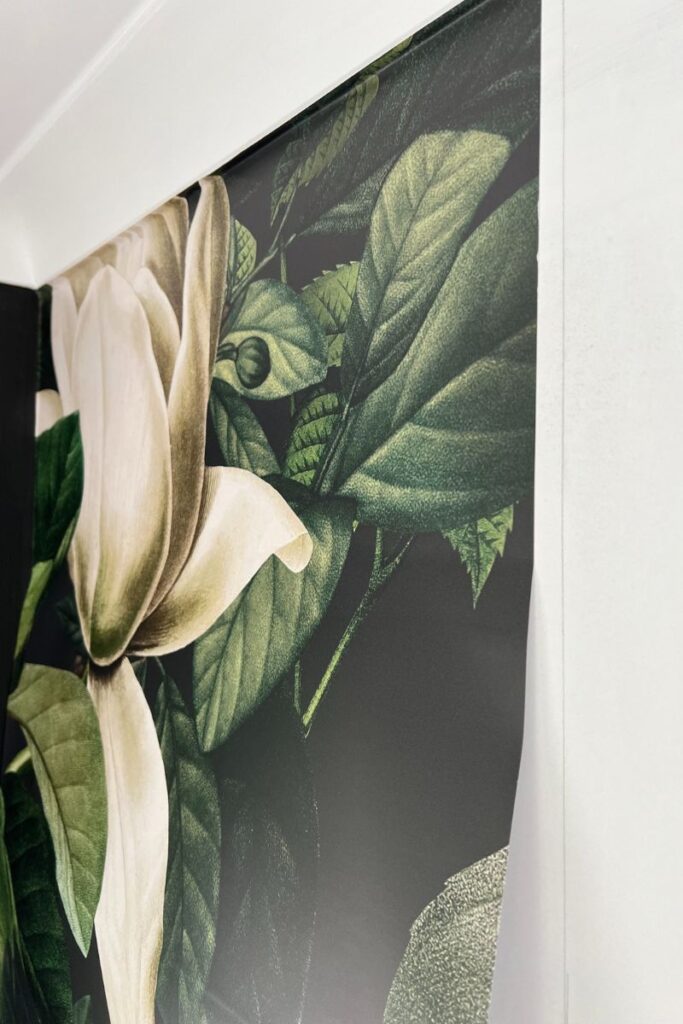
We love our new garden rooms mural – it’s a fantastic feature to the space, and the design works brilliantly with the surroundings.
I hope this has helped show that hanging a wall mural (the self adhesive kind specifically) is totally do-able – and that it’s really worth the time and effort involved.
As long as you stay calm and relaxed, and take your time – it will be the perfect way to give your living room or any room a little unique twist.
I hope that whatever design you choose, you get as much joy from it as we do ours…


